SkyHockey
This is a project for the Advanced Computer Graphics course at Chalmers.
The goal was to explore advanced rendering techniques and implement them from scratch. I really liked the idea of moving a mouse as a proxy for the mallet used to push disks around. I felt that this could be quite satisfying, and it sure was!
The core graphical concept of this game was to implement two pipelines, one for forward rendering and one for deferred rendering. This allowed comparing the benefits and drawbacks of each with the press of a button. A custom-made performance overlay allows for easy comparison.
Deferred Rendering
Let’s start with the interesting bits, i.e. deferred rendering. Instead of rendering finished pixels to the screen directly, we instead render individual steps to g-buffers and composit them later. This can be very helpful to reduce the impact of overdraw for expensive per-pixel operations like advanced lighting.
Instead of having to run those expensive computations for every object and potentially discard a bunch of it when another object is drawn on top, we first figure out what’s on the screen and then run lighting as a separate pass on exactly what’s visible.
Shadowmap
Instead of a plain old shadow map, this game uses Variance Shadow Maps, which provide nice-looking soft shadows with a manageable performance impact.
Adding these requires both the shadow map itself as well as a version that has its values squared. The first step in the deferred pipelines is to render these into buffers, which looks like this:
Depth:

Depth Squared
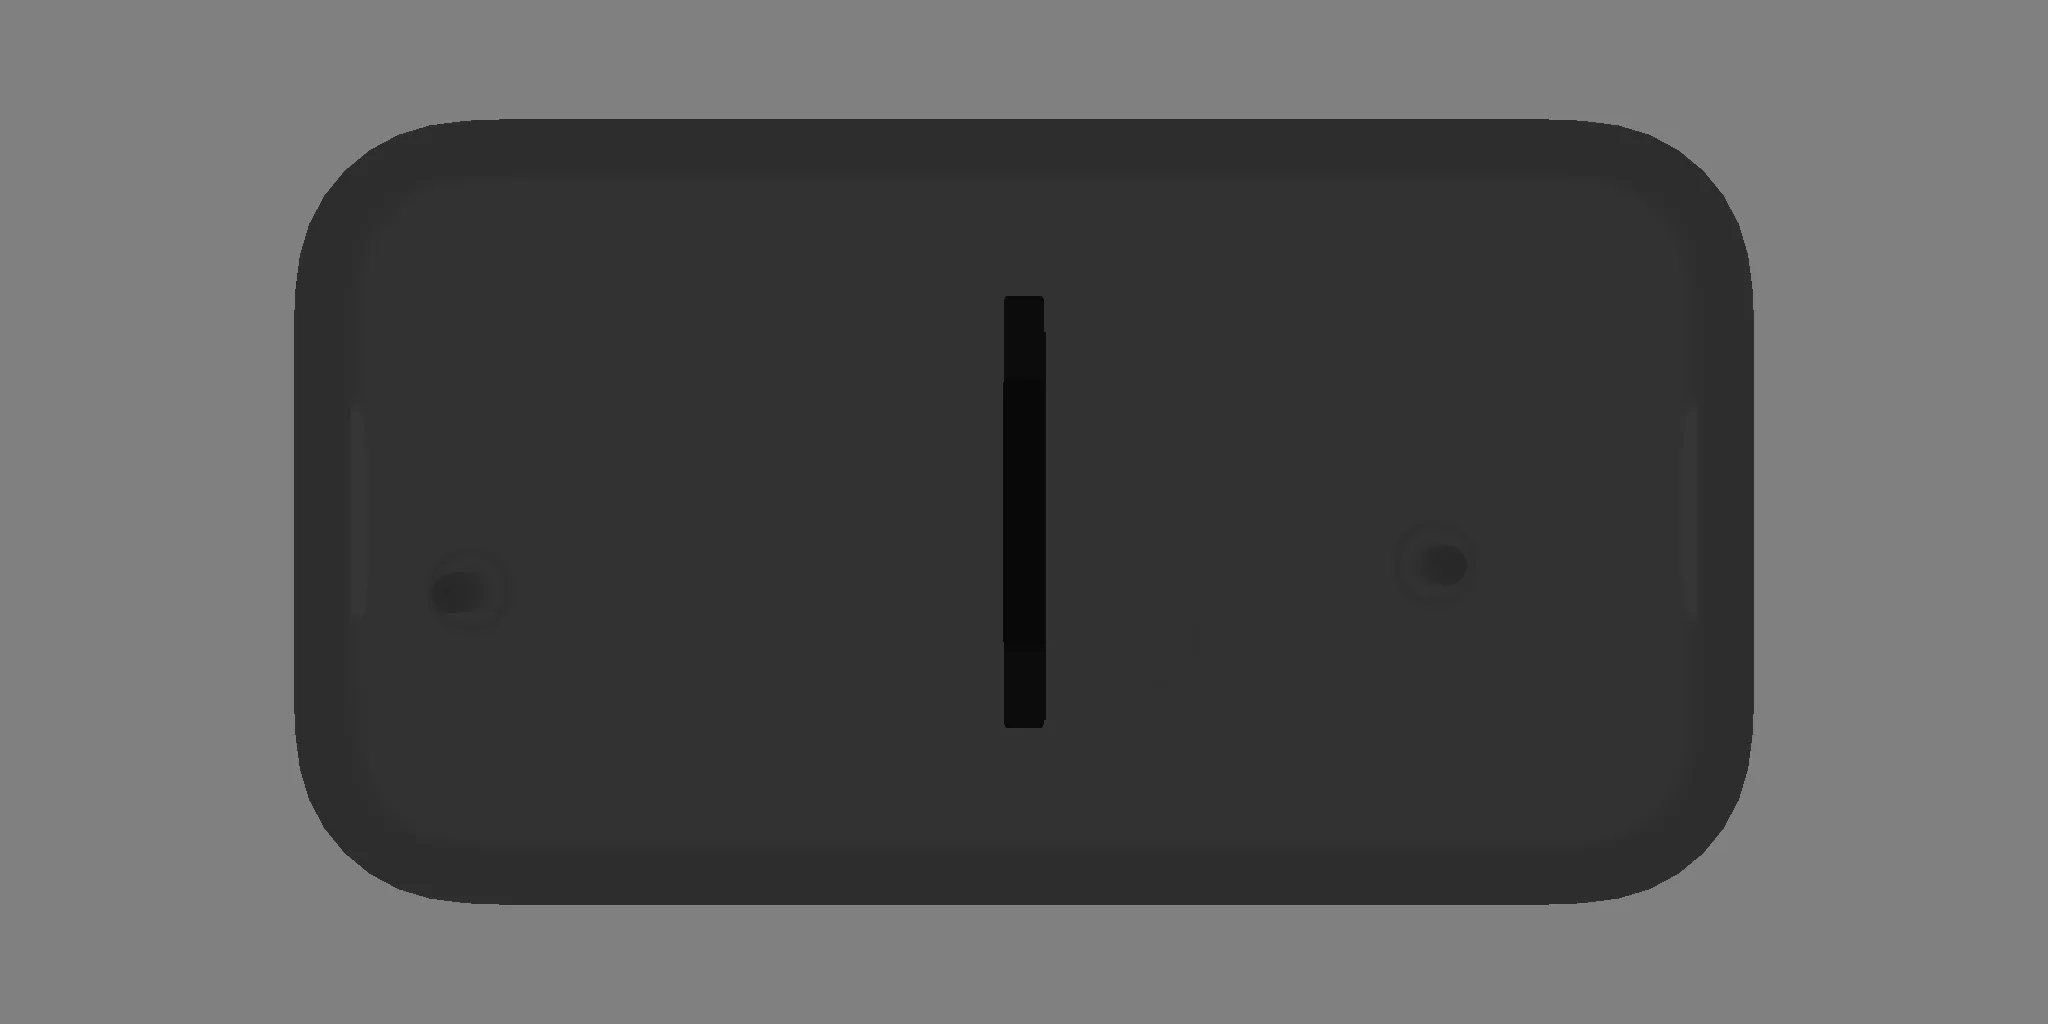
The key trick to achieve smooth shadows is to blur this depth map. For now, we just set these aside and continue collecting the rest of the information we need to compute the final image.
Object Properties
Next up, we collect information from all objects. At this stage, we do the absolute minimum to simply preserve information in the final coordinate space.
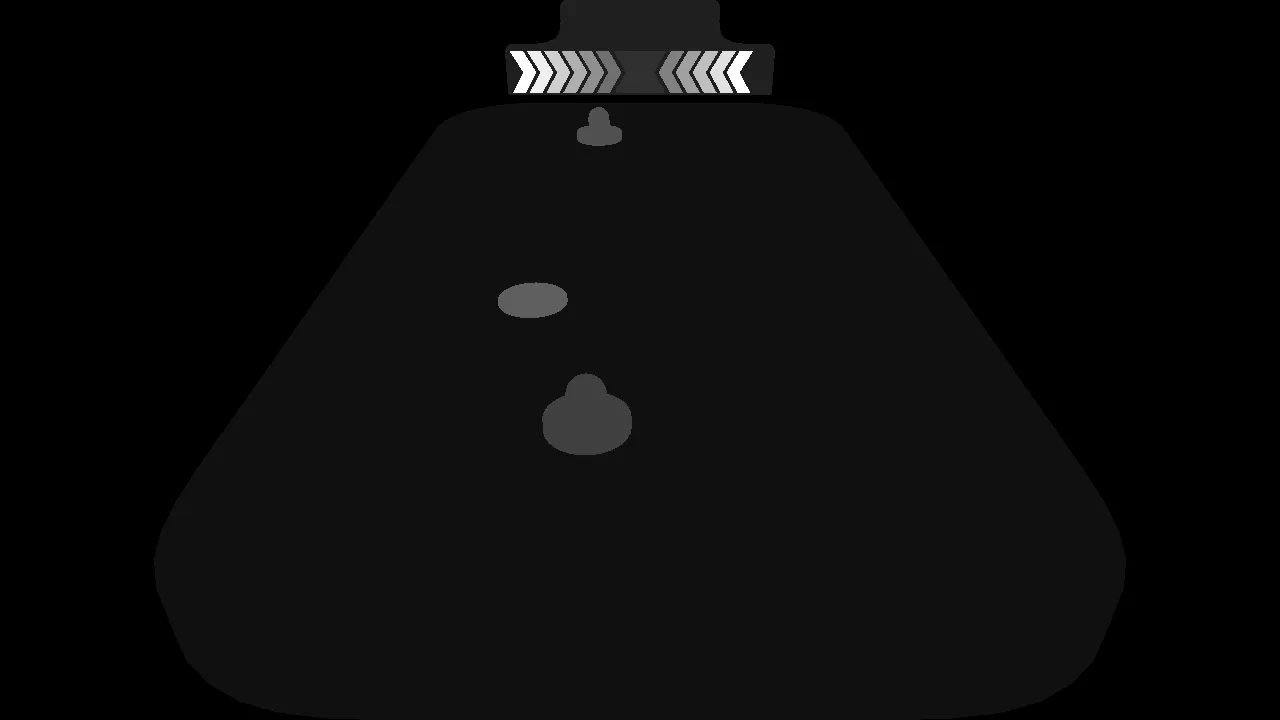
We set aside one channel for object IDs. This can come in handy in many ways. For every pixel, it allows us to look up the object. This is often how click detection is done, but the main thing we use it for is to look up material properties. E.g. this might help us figure out how reflective any given pixel should be.
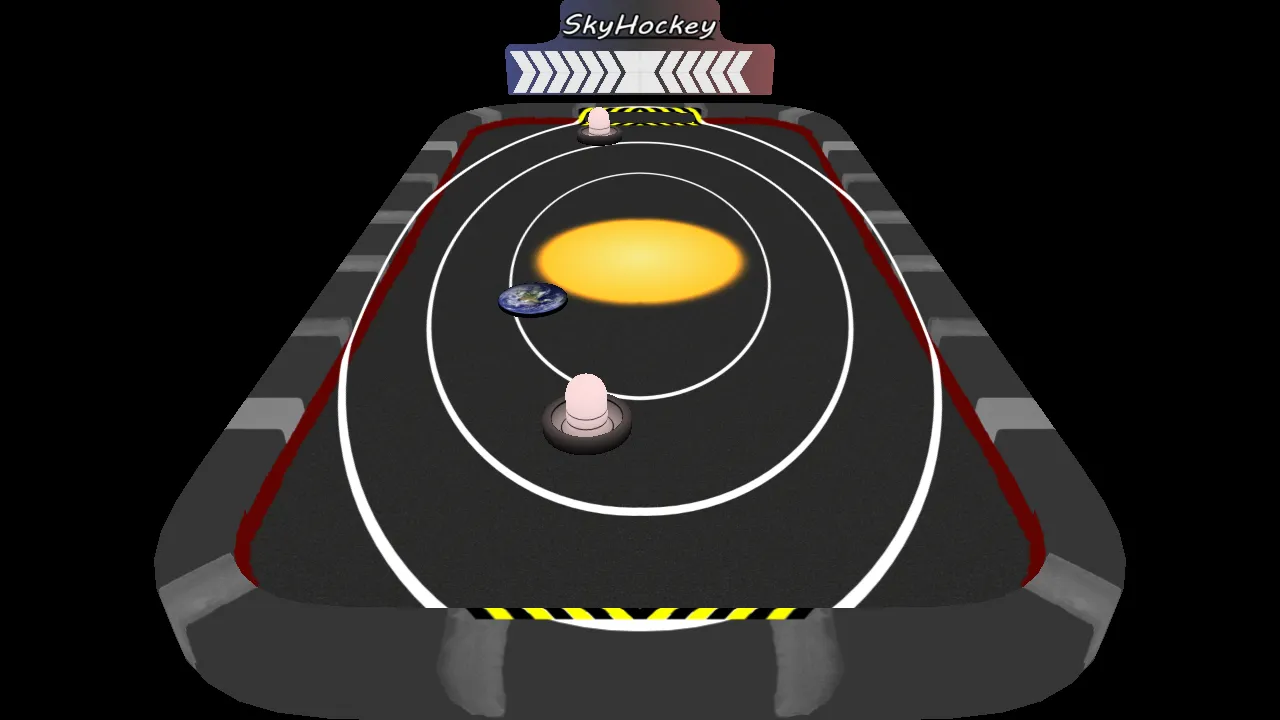
The next three channels contain the RGB albedo texture colors. Looking these up is pretty cheap, and we skip lighting on these entirely. So these are essentially the exact values from the textures, just sampled appropriately.
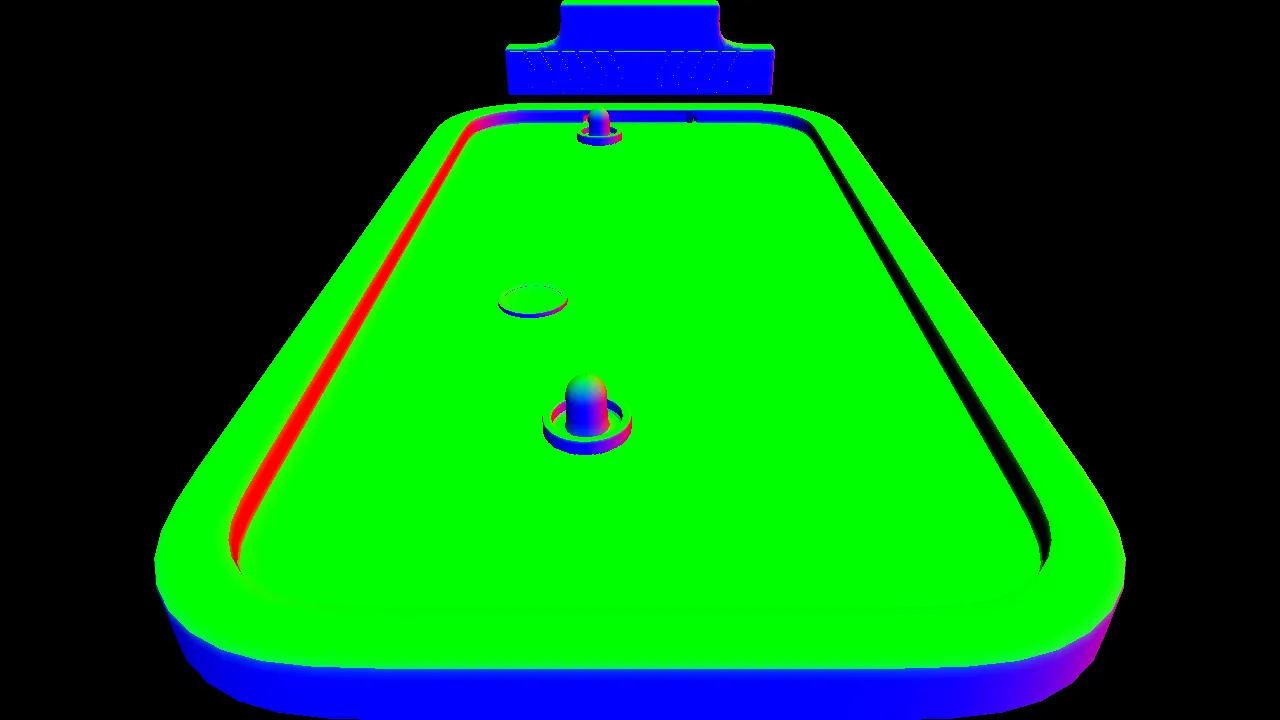
The next piece of information we need is the surface direction of each pixel; these are also called normals. These do not represent colors or IDs, but instead 3D directions as vectors. Knowing which direction a surface is pointing is essential for lighting it correctly.
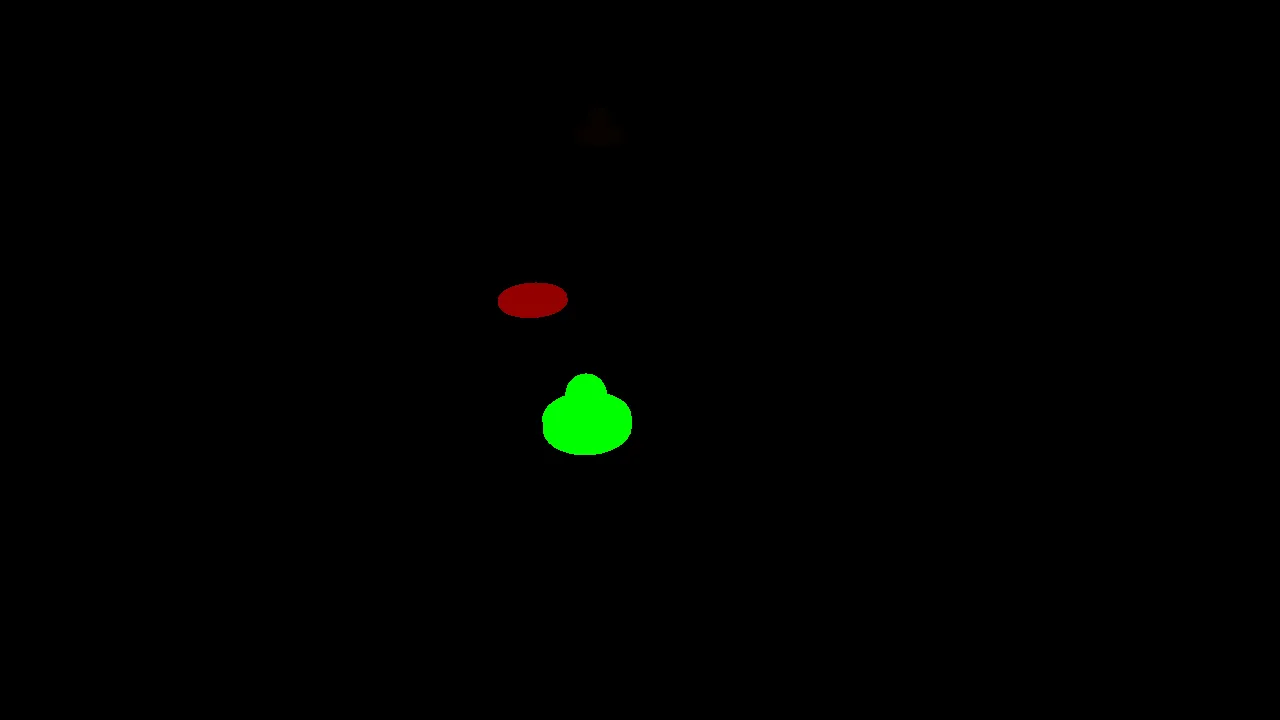
The last property we store is object velocity. We use this to apply a motion blur to the fast-moving objects, i.e. the mullets and the disks. Instead of storing the 3D motion vectors, we store their camera space 2D versions to save a bit of space and make motion blur calculations easier.
Compositing
The last step in the deferred rendering pipeline is to finally take all this information and turn it into a rendered image.
We render a fullscreen quad with a pixel shader that gets access to all the buffers we rendered along the way. It gets to apply the lighting model based on those inputs. And since we are only working on pixels that are already in screen space, there is zero overdraw in this step, and we can get away with using more expensive lighting, like the variance shadow map we set up before.
Once that is done, we apply two steps of what is essentially blurring. First, a motion blur for our fast-moving objects, which essentially adds copies of the moving pixels at several steps opposite the direction they are moving, drawing out a trail. And after that, FXAA, which is just a fancy way of saying finding edges and then blurring those as well.
The reason we need FXAA is that other forms of anti-aliasing would happen earlier in the pipeline when objects are first drawn. Since we could not afford to blend information like object IDs earlier, we end up with hard lines and essentially maximum aliasing in the compositing step. Screen space anti-aliasing helps smooth that over quite fast and convincingly.
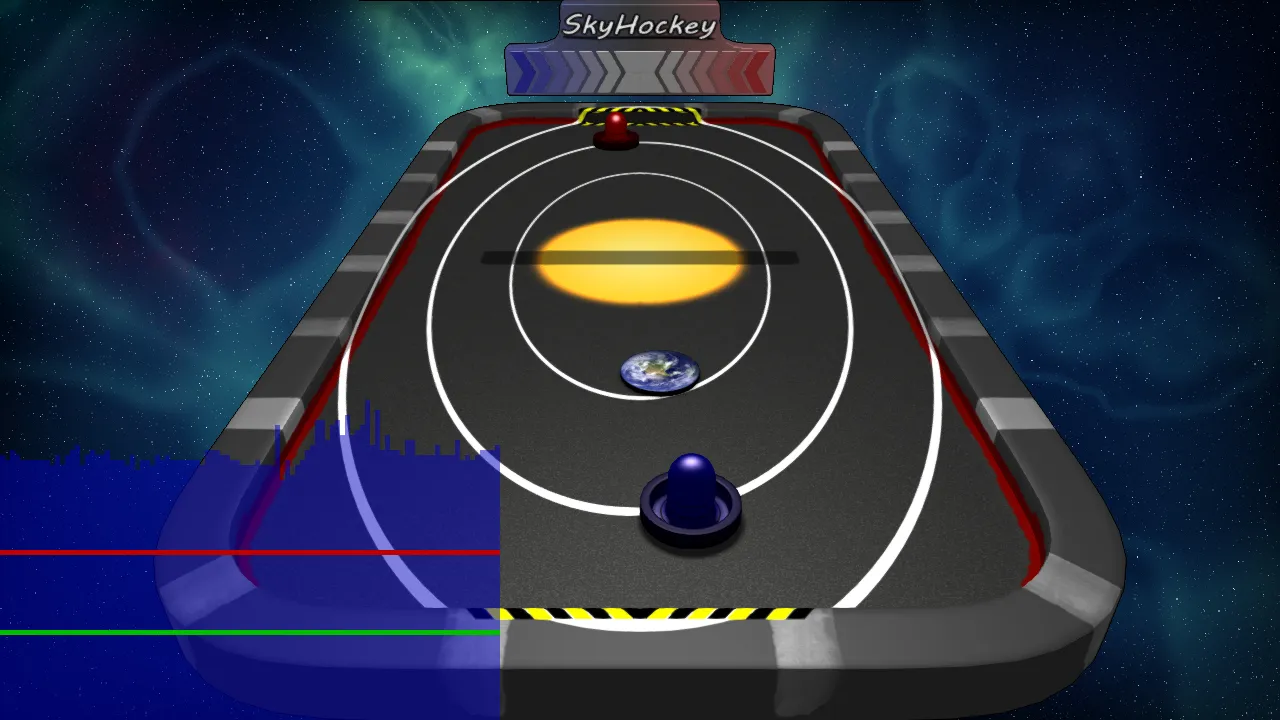
And that’s how we get back to the fully rendered image from the beginning of the post:
Conclusion
This was a very enjoyable exploration of deferred rendering and the advanced rendering techniques it both enables and requires. The big win of avoiding overdraw was, of course, not a big deal for this demo at all, and the overhead in complexity for all those intermediate rendering steps and screen space antialiasing is quite significant.
Still, I found it very helpful to deeply understand the trade-offs made with a pipeline like this. In any scenario with massive overdraw, this could be a lifesaver.
Looking Forward: Virtual Reality
The original idea with these web ports was to get a stable version that would still run in 10 years without changes. No matter the OS or CPU architecture.
Unfortunately, at the time, WebXR was not quite there yet. So I did get a basic version in Oculus’s SDK working, but decided that this was going against the spirit of making these projects open and stable.
Would love to revisit this one day, now that VR headsets with browsers and WebXR support are commonplace!
Check Out the Source!